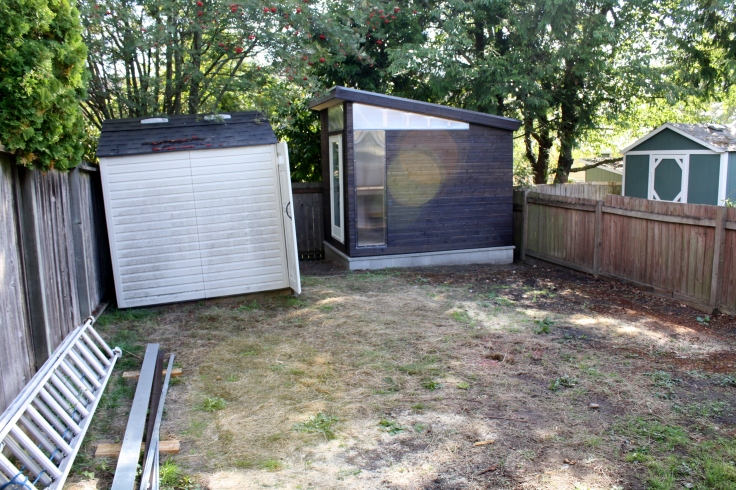
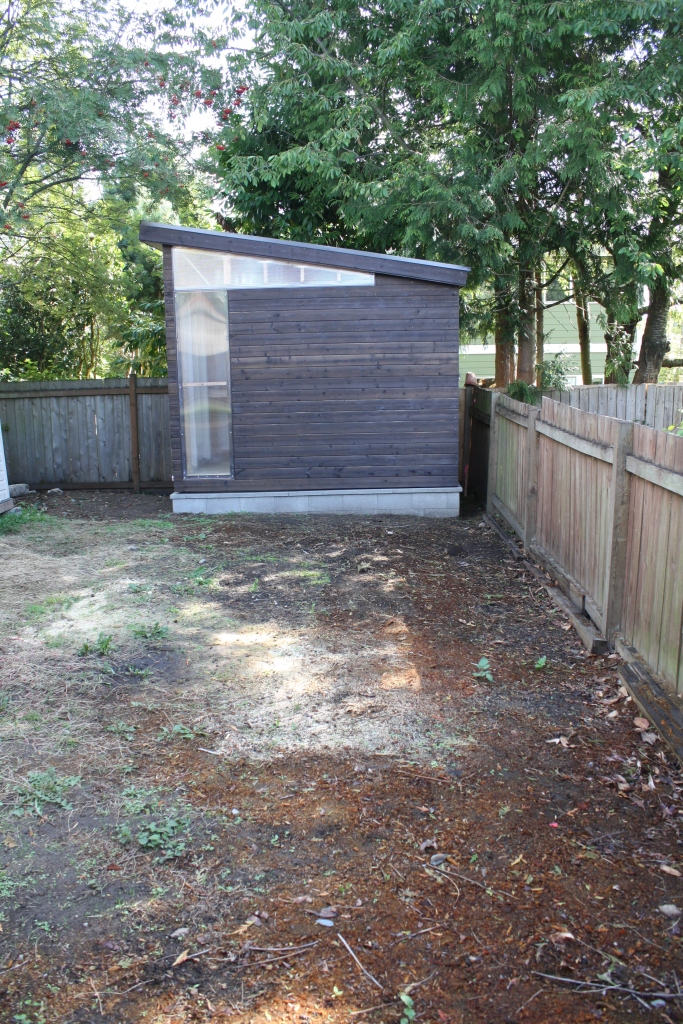
Finishing the shed took a lot longer than I thought it would (an omen of things to come, perhaps), but we are finally finished! And boy, is she a beaut…
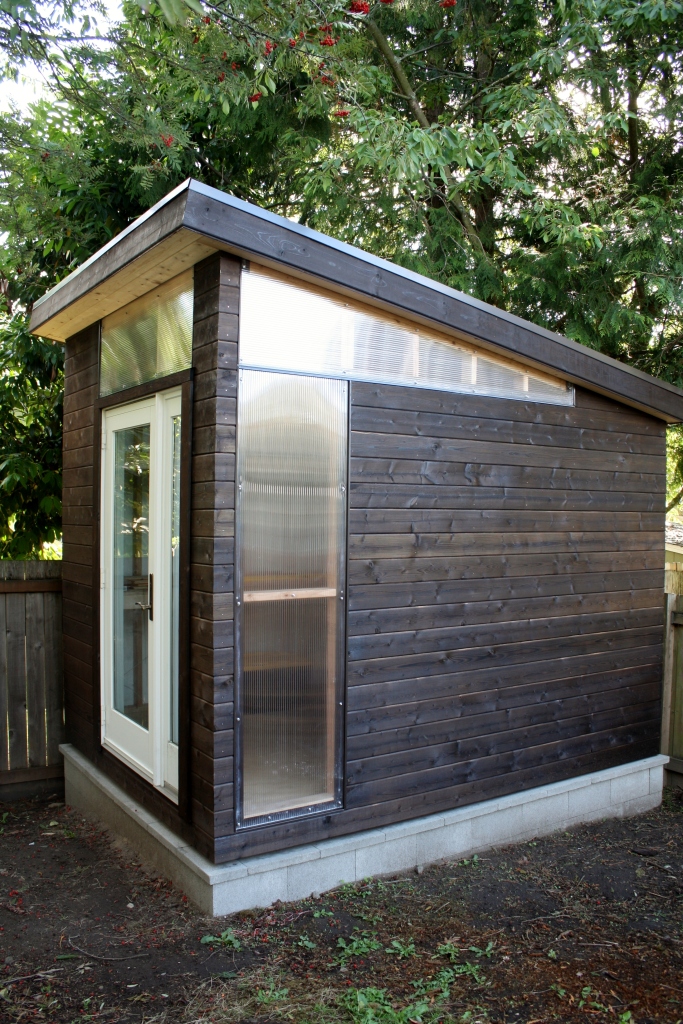
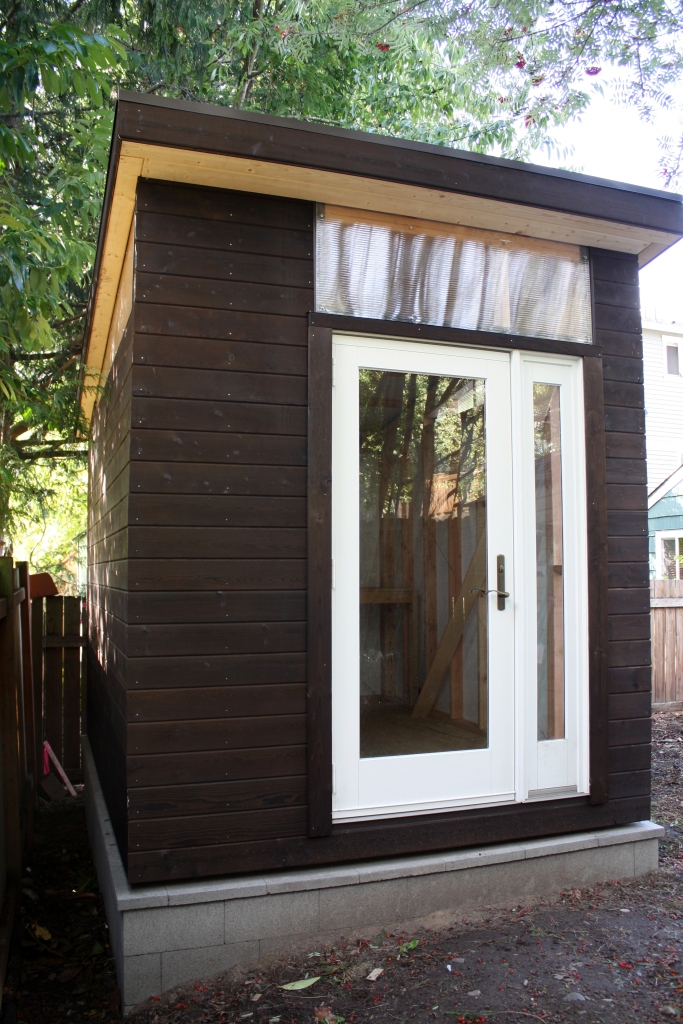
Since my energy level has been down a bit and I’m not much help in the ‘lifting heavy things’ department, Husband did most of the work on the shed. I think it turned out great! And the best part is that we don’t have to rely on a third party storage unit to be open if we need something out of storage. This will be the perfect shed for when Ozzie is in the mist of construction.
Don’t be fooled by the finished product, though, there were a lot of steps we took to get to this point.
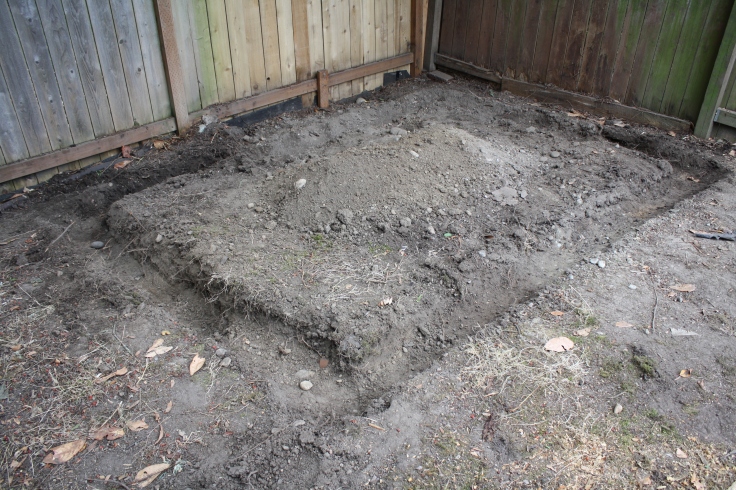
First, we had to clear the area and level the land. This required a lot more digging than I think either of us wanted to do. Husband effectively dug a trench that would eventually serve as the footprint for the shed.
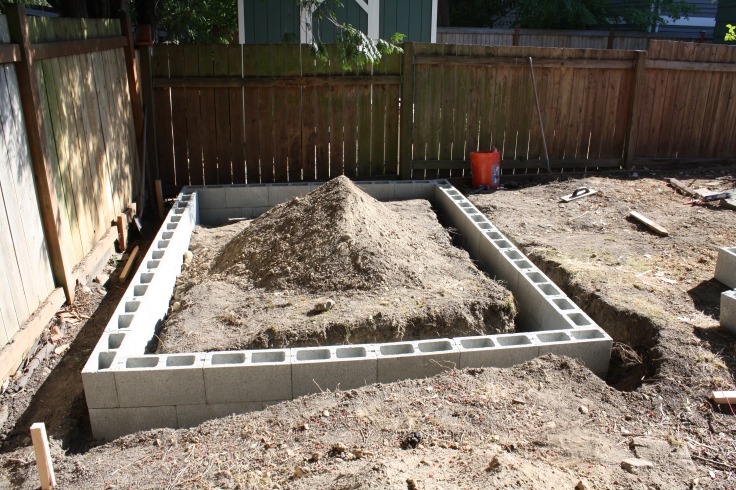
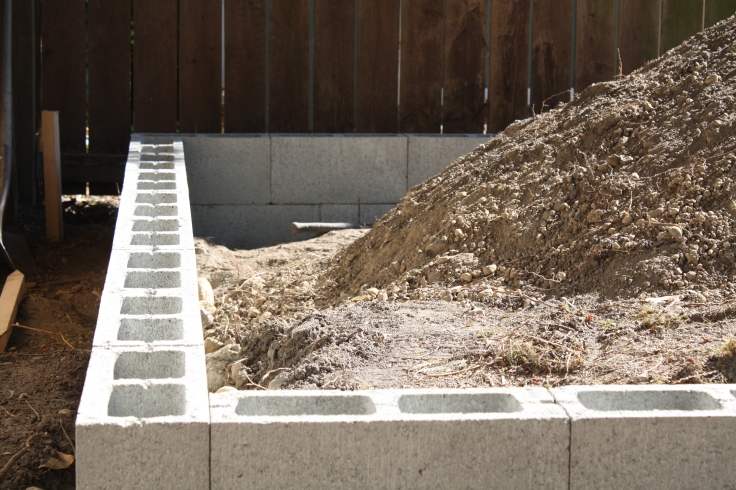
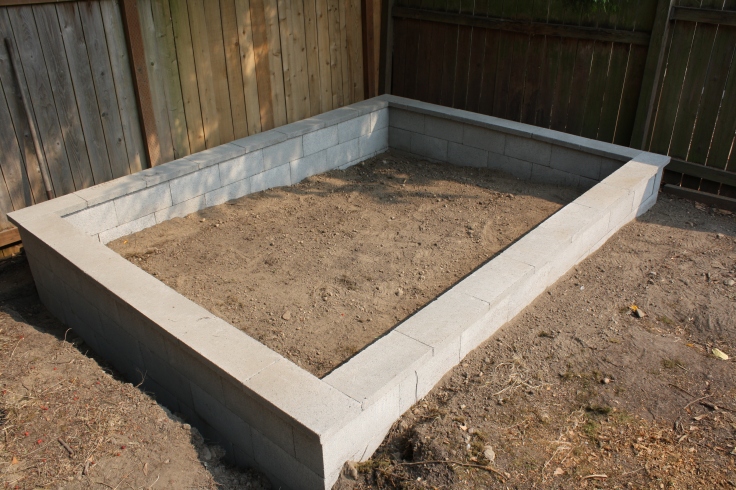
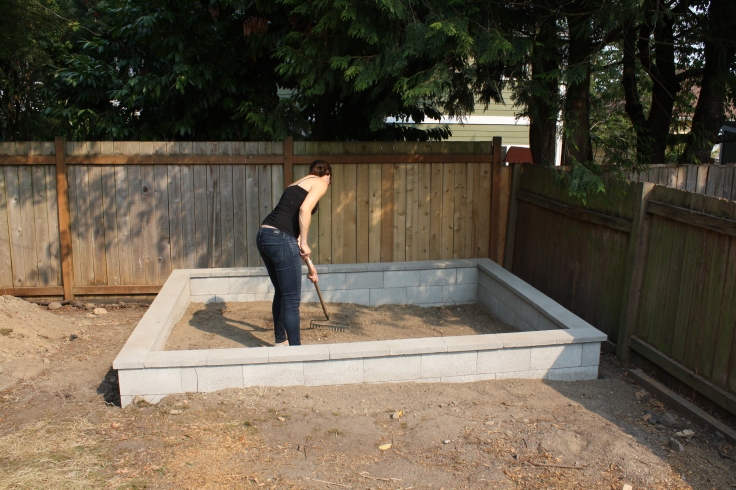
Next, Husband laid and leveled cinder blocks as a sort of retaining wall for the shed. The goal here was to keep bugs and rodents out from underneath the shed. We also tried to level the dirt inside the retaining wall as best as possible so as to create a even foundation.
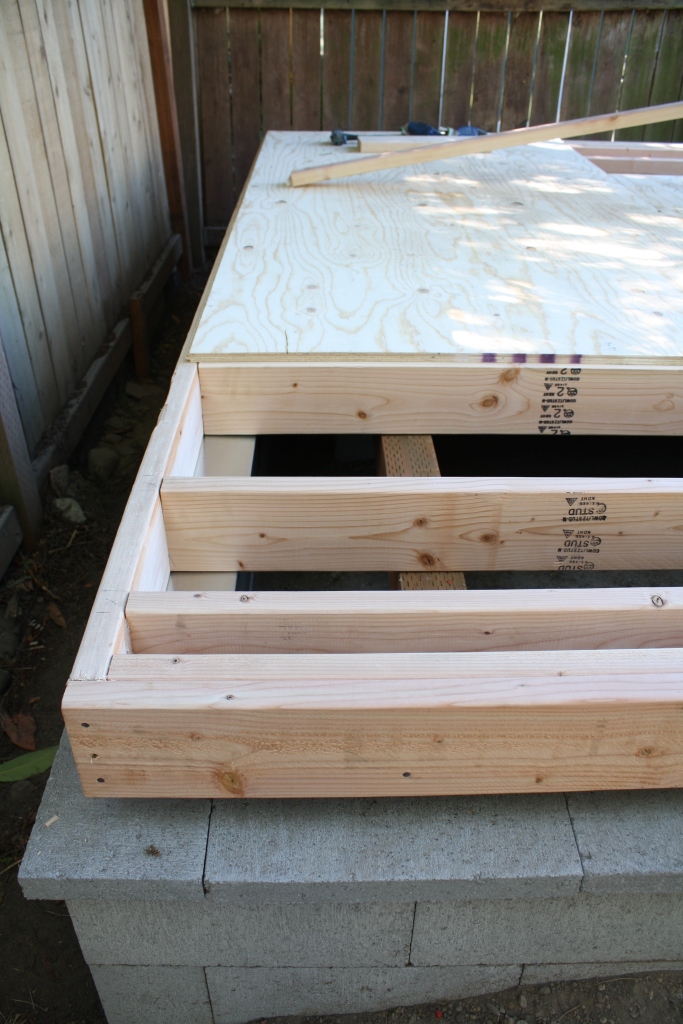
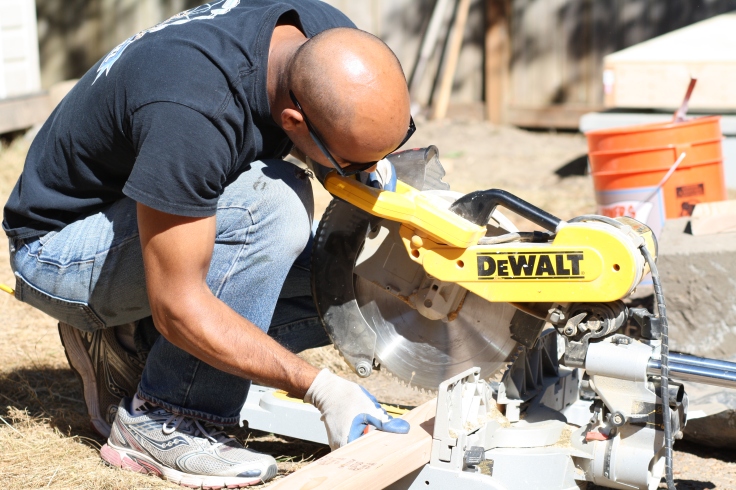
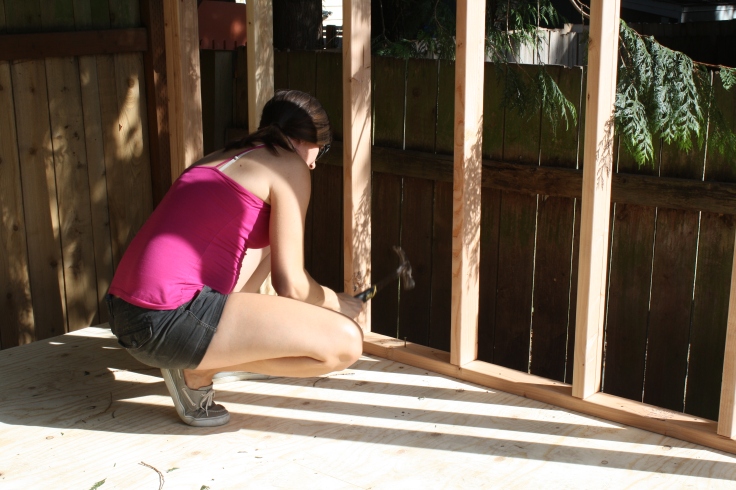
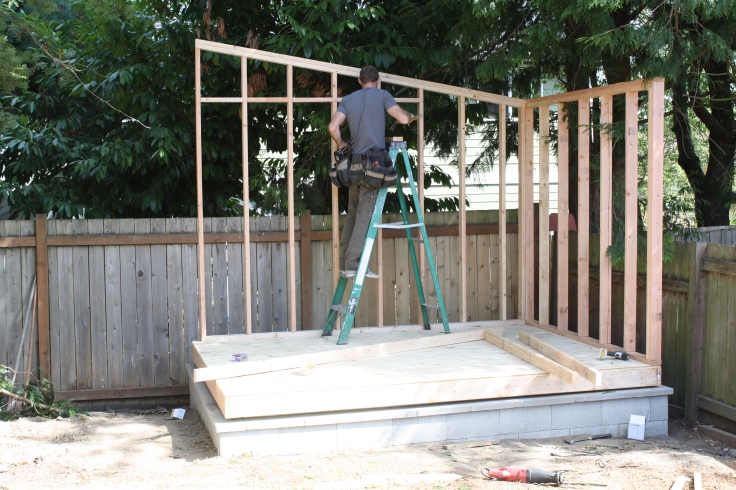
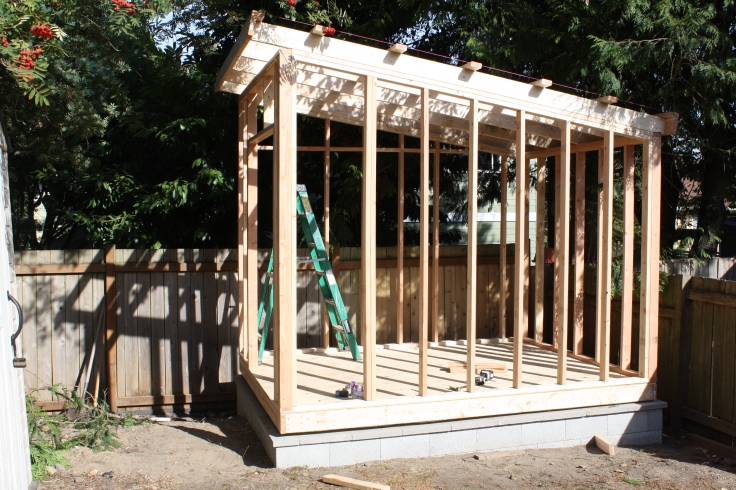
After that, the real work began. Instead of pouring a concrete foundation, Husband set the shed on beams inside of the retaining wall and then built the floor on top of that. Next steps were to frame up the walls and put the roof on. Thanks to a good friend, we had some help getting everything done.
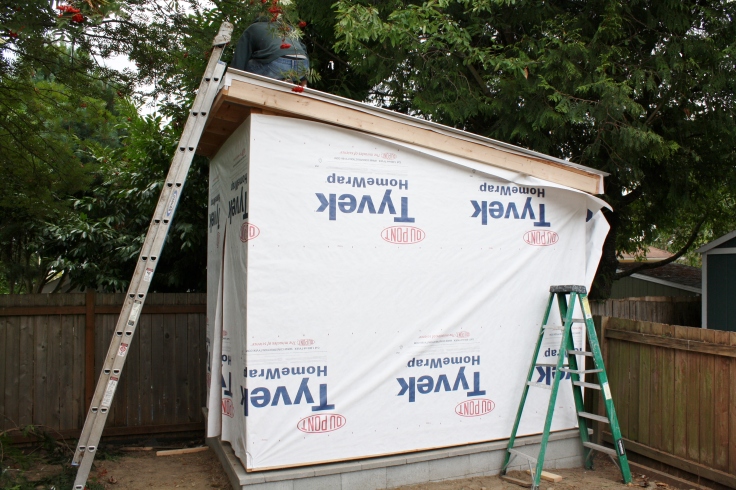
Moving right along, we tyvek’ed the outside of the shed, waterproofing the place. Per our usual luck, the one weekend we had a trip planned it was supposed to dump buckets of rain in Seattle before we had our siding or roof on. We put up the tyvek and prayed that it would keep the place at least somewhat dry. While we were away, we heard that there was a huge wind storm in Seattle and we were sure the shed would be blown over when we returned. Thankfully, Husband’s craftsmanship is pretty legit, so the thing remind upright and dry while we were away.
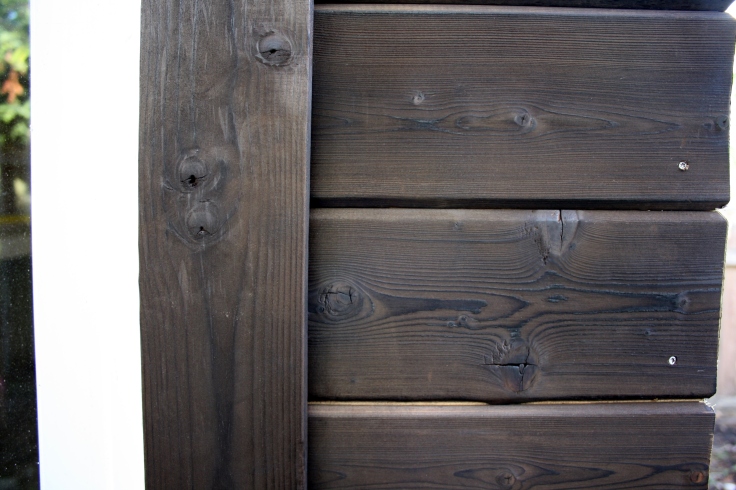
With the shed tyvek’ed and windows installed, we were able to start siding the place. As I mentioned earlier, we took some extra time to try out shou sugi ban siding on the house. Totally worth the extra time and effort.
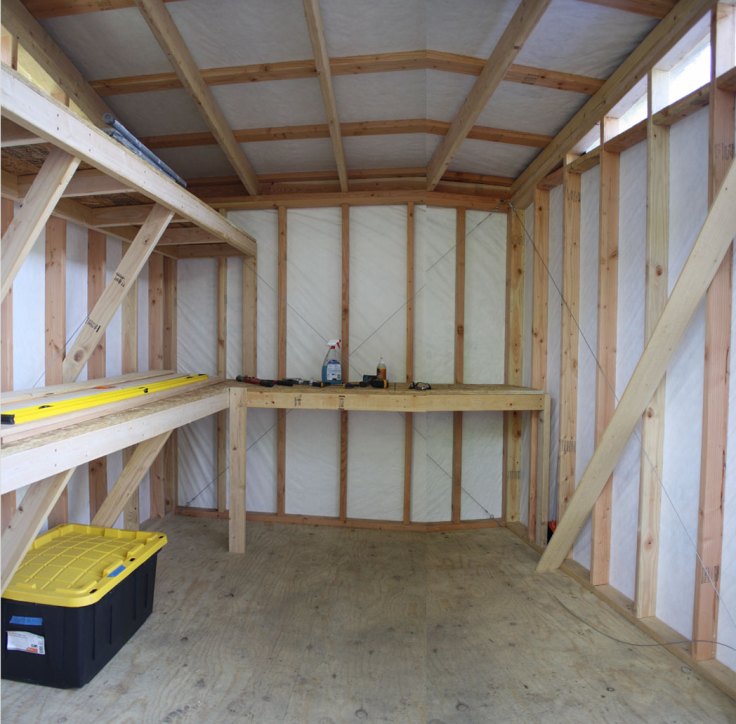
All we needed now was a door and some shelving on the inside! We ended up taking the door off the house Husband is working on for his business, which was nice to not have to spend the money on a door.
As for the shelves, we took the time to figure out what type of storage bins we were going to use and tried to maximize the space inside the shed. Afterall, this shed is going to serve as a storage unit, tool shed, closet, and much, much more throughout the duration of Ozzie’s face lift.
All in all, it was a good ‘starter’ project for us. Now the real fun begins!
November 12, 2015 at 3:37 am
Taking the tiny house movement to new levels! Looks awesome guys.
LikeLike
November 12, 2015 at 3:59 am
Thanks! We are getting our inspiration from you guys and your boat living lifestyle
LikeLike
November 12, 2015 at 6:39 am
That’s one hell of a shed! Glass entry door with side light and up-scale hardware, a floor to ceiling picture window, silver drapes in the front window, cable cross bracing, burnt wood Japanese style siding with mitered corners. All of it put up by skilled crafts people. Kelly looks like she swings a mean hammer. Well done guys.
LikeLiked by 1 person
November 12, 2015 at 6:40 am
What’s the deal with the old shed? Gonna keep using it? And is the plan to make the house look similar someday?
LikeLike
November 12, 2015 at 3:49 pm
We’re keeping the old shed for now to store tools. Those will eventually get moved over to the new shed when we have more space in the house. Also yes, the house will have qualities of the shed so they’ll look they are supposed to go together
LikeLike
November 30, 2015 at 4:39 am
Wow! It’s beautiful! We need to borrow you guys. I need to finish the basement. I’ll watch the kids 🙂 🙂
LikeLike
November 30, 2015 at 4:46 am
I’m sure we can figure something out!
LikeLike